Create a Property Group
Written By Chad McGuire (Sparrow Intel)
This guide will walk you through creating new property groups in Sparrow Intel with step-by-step instructions.
A property group can contain your PMS properties and the Google Business Profile locations and Facebook pages from your connected accounts — so reviews left on those pages roll up into the same group as your listing reviews. Pages and locations are picked from the same list as your properties in step 3; the section "Adding Google locations and Facebook pages" at the end of this guide covers them in detail.
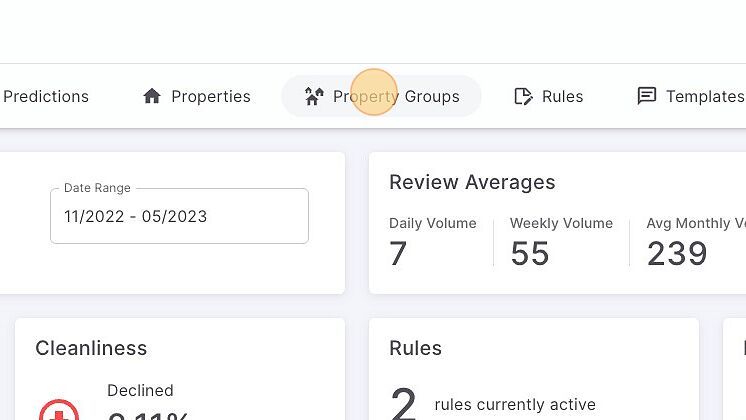
In the Sparrow Intel interface, navigate to and select "Property Groups."
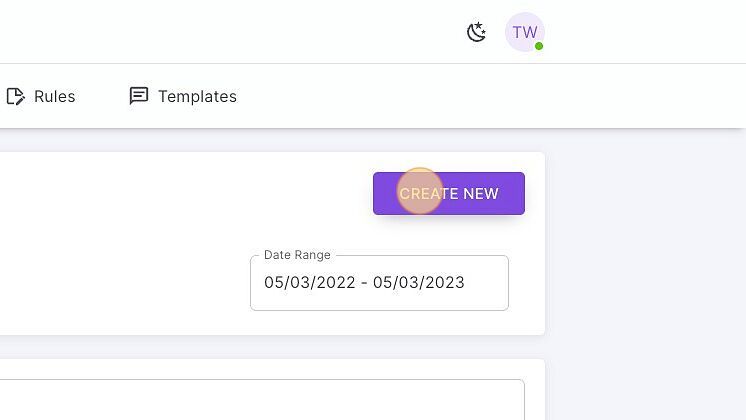
Click on the "Create New" button.
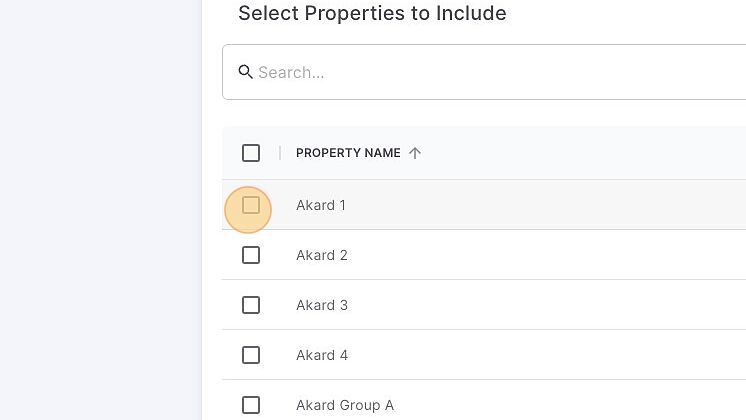
To include specific properties in your new Property Group, locate the "Select Properties to Include" section and either:
Select the desired checkboxes next to each property, or
Utilize the "Search…" field to find properties matching your search criteria.
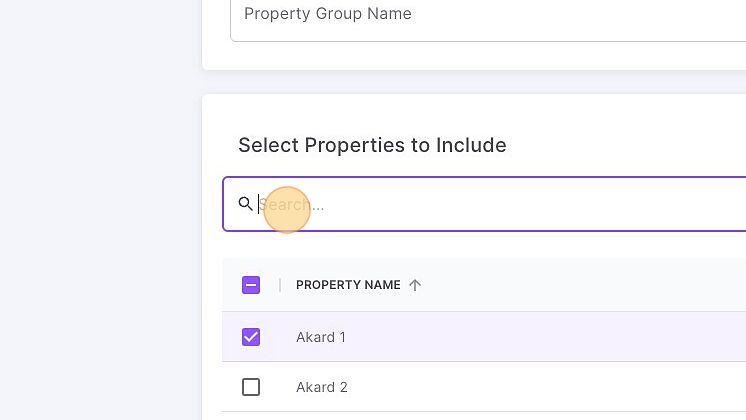
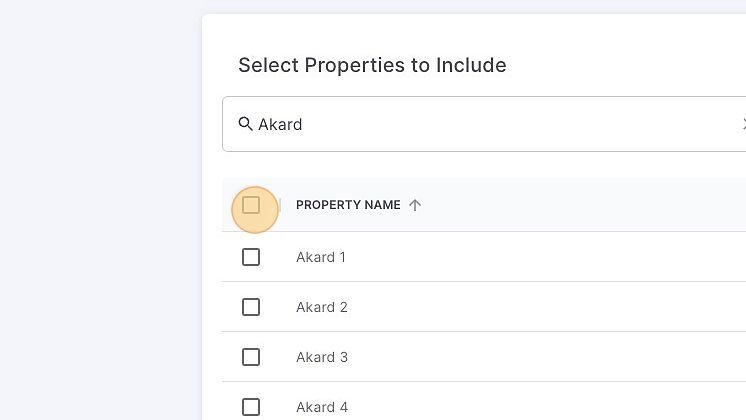
Next, you'll enter your search query, then click the checkbox beside "Property Name" to select all displayed properties.
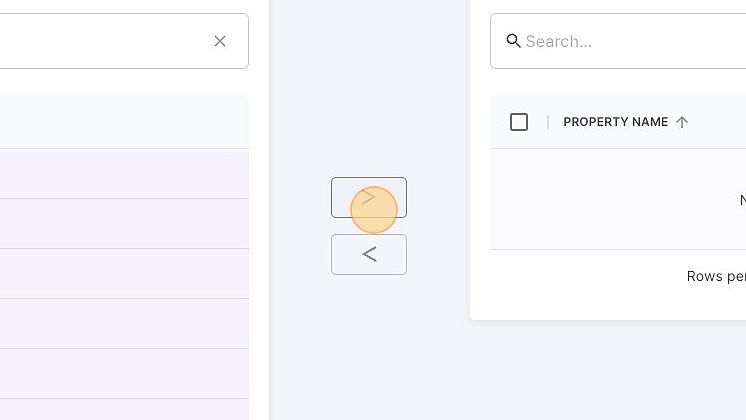
Once you've selected the properties to include in your group, click the right arrow button to add the chosen properties to your new Property Group.
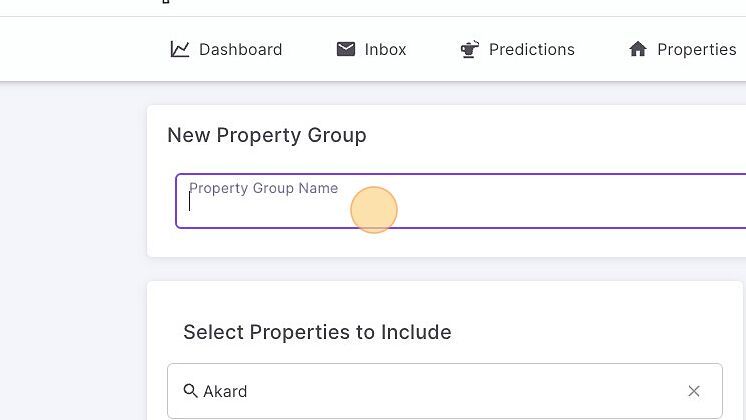
To name your new Property Group, click the "Property Group Name" field and type in your desired name.
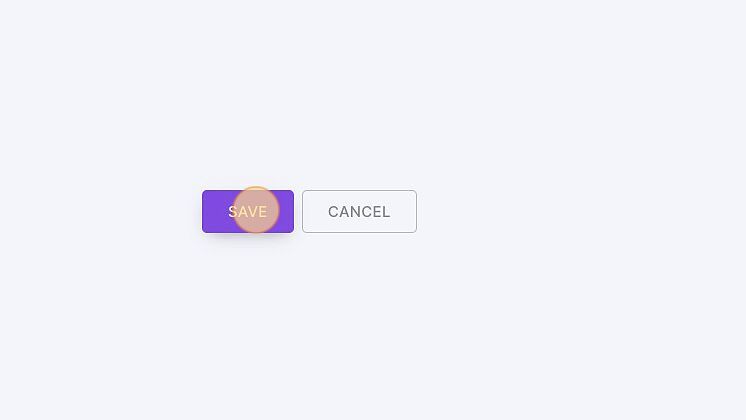
To finalize and save your new Property Group, click the "SAVE" button.
Congratulations! Your newly created Property Group can now be found under the Property Groups tab in Sparrow Intel.
Adding Google locations and Facebook pages
If your account is connected to Google Business Profile or Facebook, those locations and pages appear in the very same "Select Properties to Include" list as your properties in step 3. You add them exactly like a property — tick the checkbox and move them across with the right arrow.
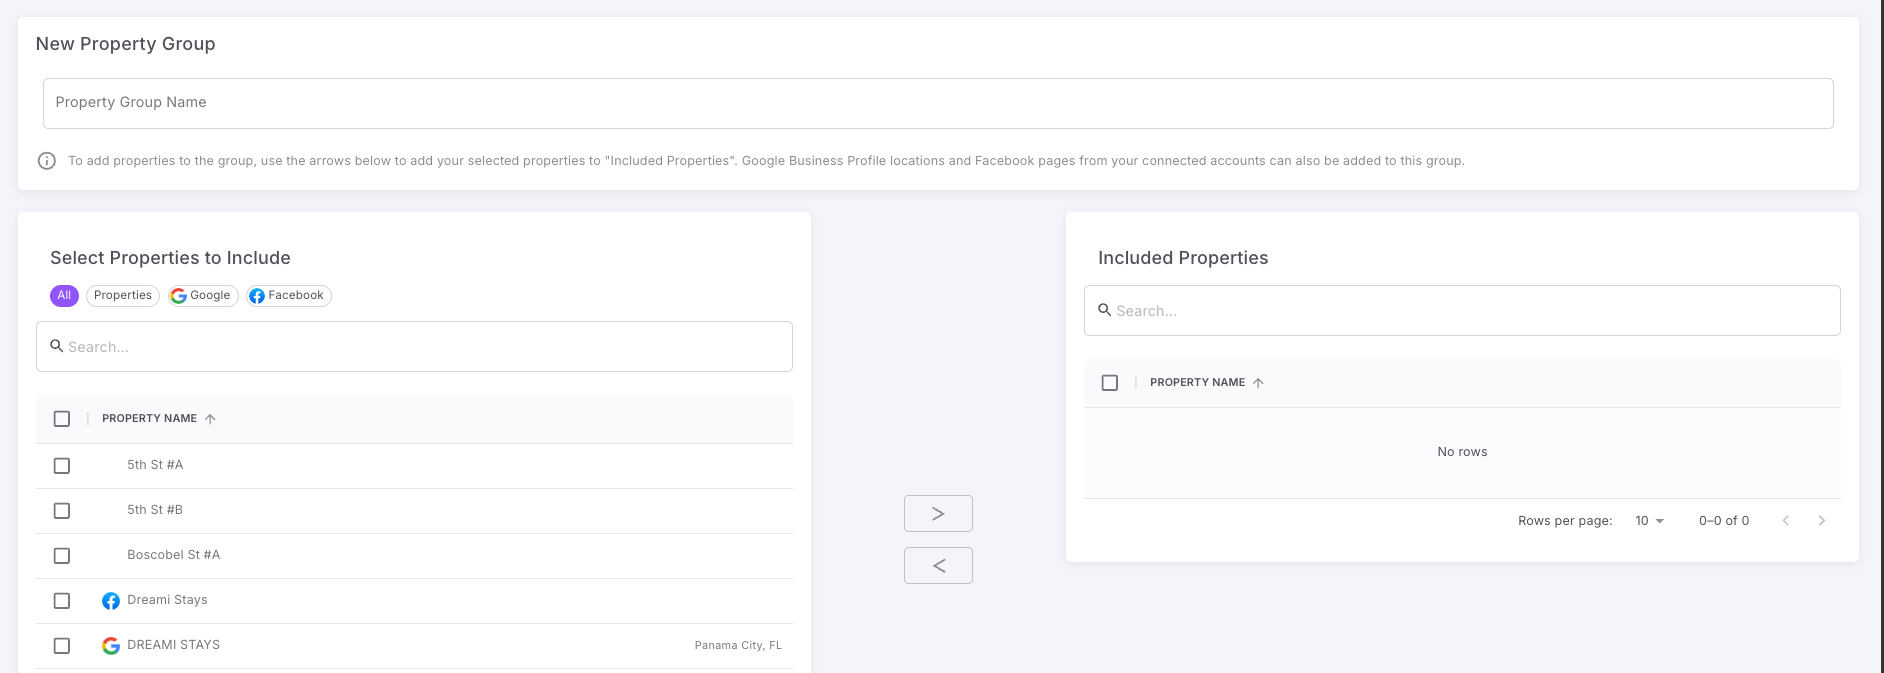
A few things make them easy to spot and easy to find:
Logos. Every Google location and Facebook page is shown with its logo beside the name. Rows without a logo are your PMS properties.
Location subtext. Google locations show their city and state in gray to the right of the name, which is what tells apart several locations sharing the same business name. Locations set up as service-area businesses have no address on the Google listing, so they show no subtext.
Source filters. A row of filter chips appears above the list — "All", "Properties", "Google" and "Facebook". Click one to narrow the list to just that source. Anything you have already ticked stays ticked when you switch chips, so you can filter to Google, tick the locations you want, switch back to Properties, carry on, and then move everything across in one go.
Search. The "Search…" field matches the source as well as the name — typing "google" or "facebook" returns just those rows, and typing a city returns the locations in it.
If your account has no connected Google or Facebook accounts, there is nothing extra to show and the list looks exactly as it always has. To connect Google, see the Google Business Profile guide.
Where they appear once the group is saved
Open the group from the Property Groups tab and go to its Properties tab. Your properties are listed first, and the Google locations and Facebook pages you included appear below them in a Pages and Locations card, each with its logo and, for Google, its city and state.
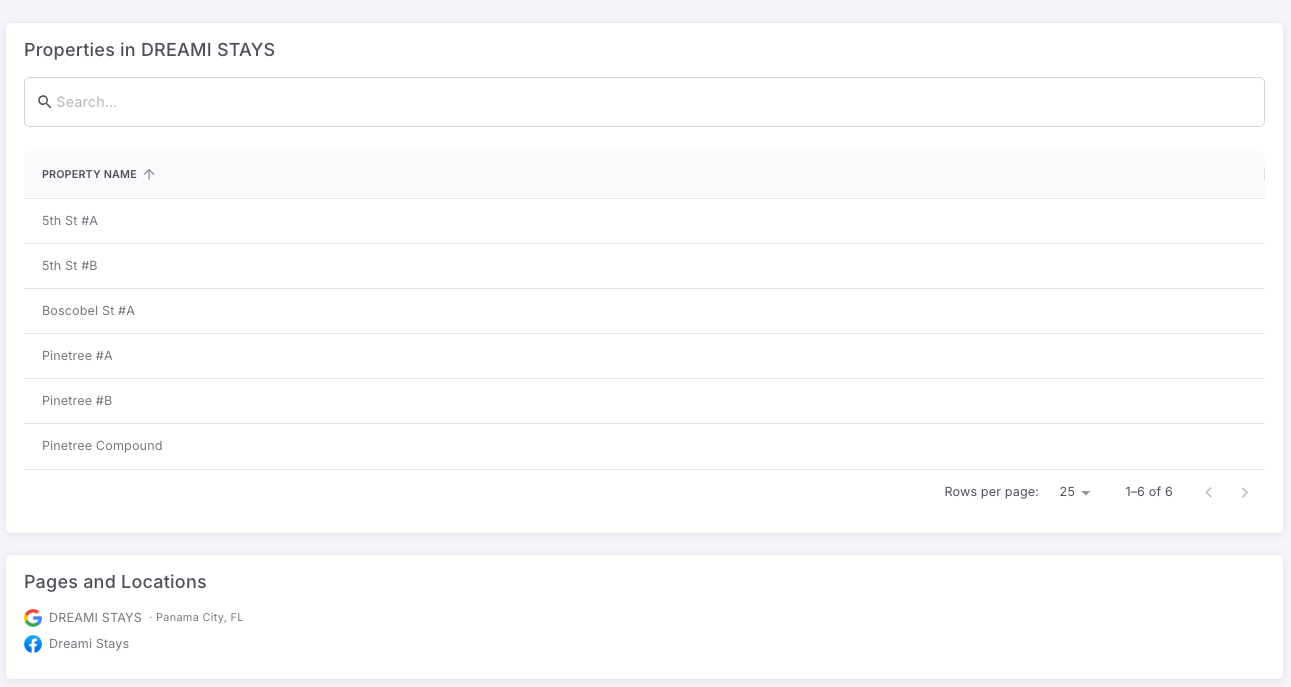
From then on the reviews left on those locations and pages count as part of the group:
They are included in the group's Dashboard ratings, review counts and sentiment.
They appear in the group's Reviews tab alongside your listing reviews.
They are counted in the group's Reports.
They are shown by any review widget scoped to that group.
Good to know
A page or location can belong to more than one group, just like a property.
Google and Facebook reviews are not tied to a reservation, so they are counted by the date the review was left. Reports run by stay/arrival date will not include them.
If a location or page is later disconnected, it stays listed on the group so you can still see what was included — it simply stops bringing in new reviews. Remove it from the group the same way you would remove a property.
To take anything back out of a group, see Remove Properties from a Property Group.
Was this helpful?
Still need help? Ask the team